
Original image view
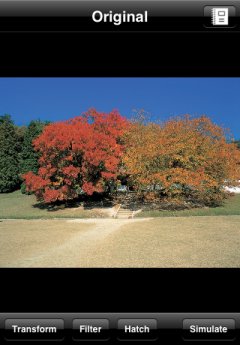
- Obtain an imageAccording to a selection in the main menu, the camera function, the image picker in Photo Albums, or the web browser is activated. In each case, you can return to the main menu by tapping the "cancel" button. An obtained image appears on the original image view shown in the right screenshot after you take a photo, select an image, or specify a web page.
- Show the original imageIn every image view including the original image view, you can zoom, scroll, etc. with iOS's standard operation. Moreover, those views rotate when you turn around a device.
Tap the rightmost button on the upper navigation bar to go back to the "1. Obtain an image". At this time, the camera function is re-activated when the current image was taken with camera, the image picker is re-activated when the image was selected from Photo Albums, or the web browser is re-activated when the image was copied from a snapshot of a web page. The button image on the navigation bar in each above-mentioned case is as below:
 with camera
 from Photo Albums
 from web page
 - Apply color transformation etc.Color transformation, filtering, hatching, or simulation is applied to the image by tapping corresponding button on the lower tool bar. The result is displayed in the different result view respectively. In those result views, you can go back to the original image view and can re-obtain an image.
